8 月 . 21, 2024 02:38 Back to list
Installation Guidelines for CE Certified Outdoor Emergency Power Supply Systems
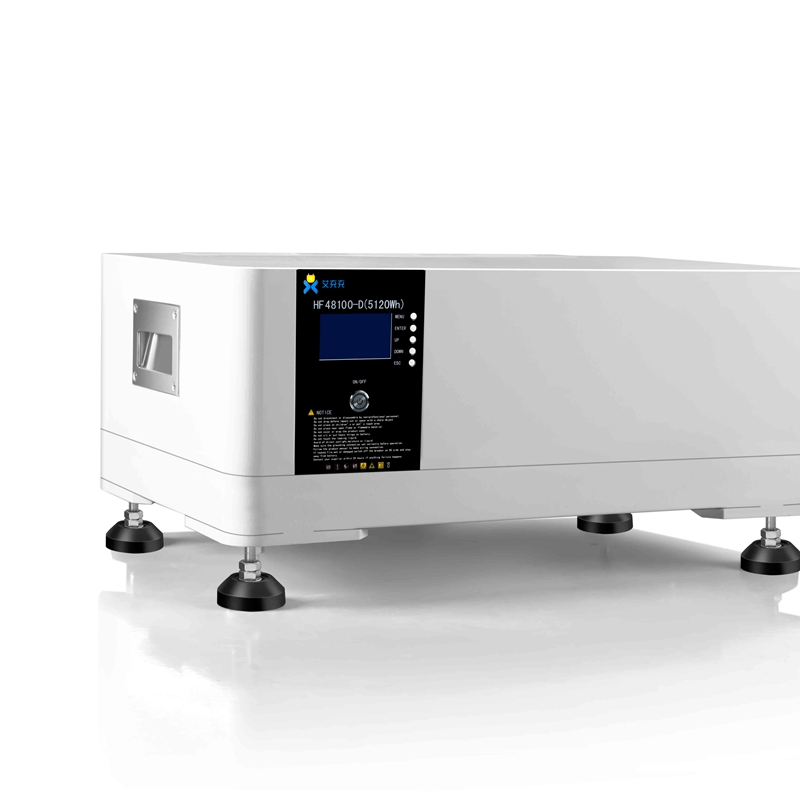
Outdoor Emergency Power Supply Installation Instructions
In today's world, having a reliable source of power during emergencies can be crucial for maintaining essential functions in both residential and commercial settings. Whether it's due to natural disasters, equipment failures, or other unforeseen circumstances, an outdoor emergency power supply (EPS) can provide a critical lifeline. However, proper installation is necessary to ensure safety and efficiency. This article outlines the essential steps and considerations for installing an outdoor emergency power supply that meets CE certification standards.
Understanding CE Certification
Before starting the installation process, it's essential to understand what CE certification entails. CE marking indicates that a product meets EU safety, health, and environmental protection standards. For outdoor emergency power supplies, CE certification ensures that the unit is built to withstand harsh environmental conditions, is safe for use, and functions effectively in critical situations. It’s advisable to purchase equipment that has been CE certified to guarantee compliance with safety regulations.
Installation Location
Selecting the right location for your outdoor EPS is crucial. The area should be dry, well-ventilated, and away from any potential hazards such as flammable materials or flooding sources. Ensure that the site is accessible for maintenance and that the unit is situated on a stable surface that can support its weight. Additionally, consider the distance to your main power supply and the appliances you plan to support during outages for optimal wiring and connectivity.
Preparation and Tools
Before beginning the installation, gather all necessary tools and materials. Basic tools include a drill, screwdriver, level, conduit, wire cutters, and electrical tape. Ensure you have safety gear, such as gloves and goggles, to protect yourself during the installation. Additionally, check that your EPS unit comes with installation instructions and read them thoroughly to understand specific requirements.
Electrical Connections
ce certification outdoor emergency power supply installation instructions

Electrical connections are the most critical part of any EPS installation. Begin by turning off the main power supply to prevent any accidents. Follow the manufacturer’s wiring diagrams precisely, connecting the EPS to the circuit and ensuring that all connections are tight and insulated. It is crucial to use the correct gauge and type of wiring compatible with the EPS specifications to avoid overheating or short-circuits.
Grounding is another critical aspect of electrical safety. Ensure that the EPS is securely grounded to protect against electrical surges and to provide a clear path for excess electricity to dissipate safely. Refer to local electrical codes as they may have specific grounding requirements that must be followed.
Testing the System
Once the installation is complete, conduct tests to ensure everything is functioning as intended. Check all connections, and make sure the system powers on and off correctly. Monitor voltage outputs to ensure the EPS is providing stable power. It’s also wise to perform a load test to verify that the system can support the intended appliances during an outage.
Regular Maintenance
Proper maintenance is essential for the longevity and reliability of your outdoor emergency power supply. Schedule regular checks to ensure that all connections remain secure, the battery is charged, and there are no signs of wear or damage. Clean the unit and its surrounding area to prevent build-up that could affect performance.
Conclusion
Installing an outdoor emergency power supply is a valuable investment for ensuring safety and continuity of operations during power outages. By adhering to CE certification standards and following best practices in installation and maintenance, you can ensure that your emergency power system remains reliable when you need it most. Always consult with a qualified electrician if you are unsure about any aspect of the installation to ensure compliance with local regulations and safety standards.
-
FREMO Portable Power Station High-Capacity, Lightweight & Reliable
NewsMay.30,2025
-
24V DC Power Supply Certified & Efficient Home Depot Exporters
NewsMay.30,2025
-
12V 2A DC Power Supply for Home Depot Trusted Supplier & Exporter
NewsMay.29,2025
-
Energy Storage Power Station Solutions Reliable & Efficient Products
NewsMay.29,2025
-
Portable Power Station R100 High-Capacity & Reliable Backup Power
NewsMay.29,2025
-
Energy Management System EMS
NewsMar.07,2025


